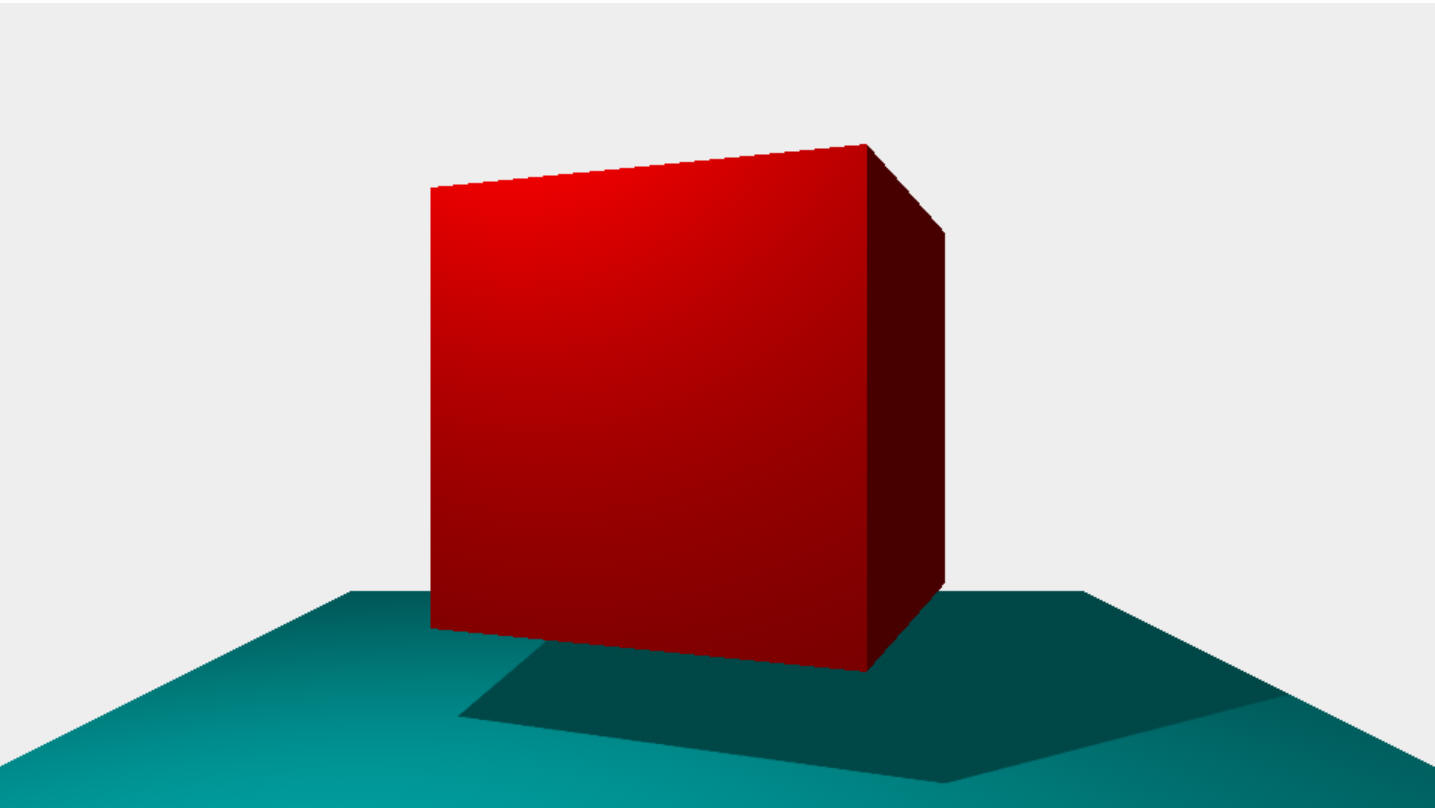
1. 簡単な three.js サンプルを試そう
ライブラリのセットアップから 3D 画面への表示および直方体の回転までを紹介します。手順通りに進めれば、20分くらいで作業を完了できると思います。
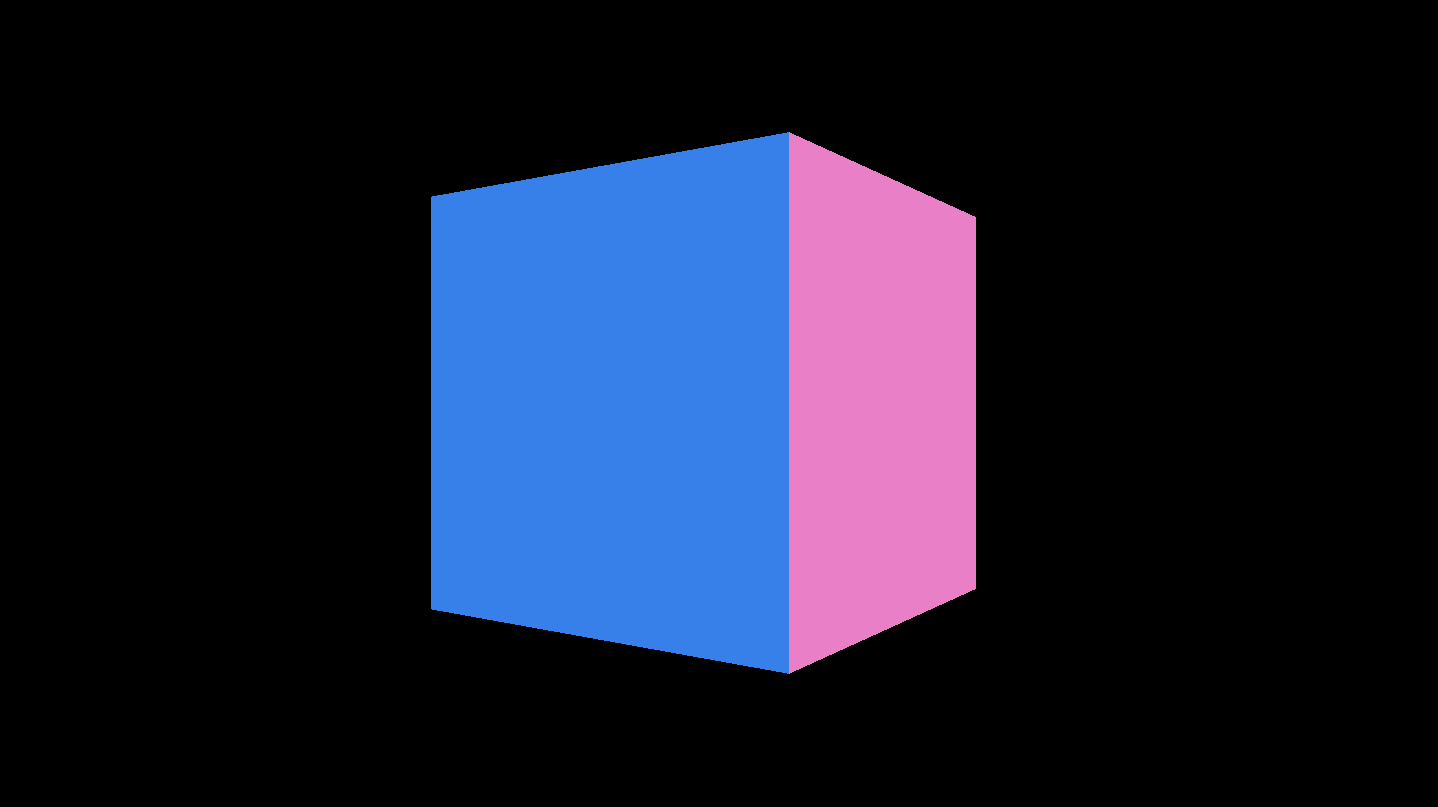
作成するサンプルをこちら(↓)で確認してください。
ブラウザの画面上に単色の直方体が回転します。
まずは HTML ファイルを用意して、次のコードを貼り付けます。
簡単なThree.jsのサンプルを試そう - ICS MEDIA を参考に、WebGPU 方式を WebGL 方式へ変更しています。
<!doctype html>
<html>
  <head>
    <meta charset="utf-8" />
    <script async src="https://unpkg.com/es-module-shims@2.8.4/dist/es-module-shims.js"></script>
    <script type="importmap">
      {
        "imports": {
          "three": "https://unpkg.com/three@0.184.0/build/three.module.js"
        }
      }
    </script>
    <script type="module">
      // Three.jsライブラリをインポート
      //import * as THREE from "three/webgpu";
      import * as THREE from "three";

      console.log(THREE);

      // キャンバスのサイズを指定
      const width = 960;
      const height = 540;

      // WebGLレンダラーを作成
      //const renderer = new THREE.WebGPURenderer({
      const renderer = new THREE.WebGLRenderer({
        // 使用するcanvas要素を指定
        canvas: document.querySelector("#myCanvas"),
      });
      // デバイスのピクセル比率を設定(高DPIディスプレイに対応)
      renderer.setPixelRatio(devicePixelRatio);
      // レンダラーのサイズを設定(幅960px、高さ540px)
      renderer.setSize(width, height);

      // シーン(3D空間)を作成
      const scene = new THREE.Scene();
      scene.background = new THREE.Color(0x000000);

      // パースペクティブカメラを作成(視野角45度、アスペクト比 width/height)
      const camera = new THREE.PerspectiveCamera(45, width / height);
      camera.position.set(0, 0, +1000);

      // ボックスジオメトリを作成(幅400、高さ400、奥行400)
      const geometry = new THREE.BoxGeometry(400, 400, 400);
      // 法線色マテリアルを設定(各面が異なる色で表示される)
      const material = new THREE.MeshNormalMaterial();
      // メッシュを作成してシーンに追加
      const box = new THREE.Mesh(geometry, material);
      scene.add(box);

      // アニメーションループを開始
      renderScene();

      // 毎フレーム時に実行されるアニメーションループ関数
      function renderScene() {
        // ボックスをY軸中心に回転させる
        box.rotation.y += 0.01;
        // シーンをカメラの視点から描画
        renderer.render(scene, camera);
      }
    </script>
  </head>

  <body>
    <canvas id="myCanvas"></canvas>
  </body>

</html>
<canvas> 要素を準備する
Three.js は HTML5 の <canvas> 要素を利用します。<canvas> 要素はコンテンツを表示する描画エリアとなります。<canvas> 要素には属性として id(ID値)を最低限設定しておきましょう。
<!doctype html>
<html>
  <body>
    <canvas id="myCanvas"></canvas>
  </body>
</html>
JSライブラリを読み込む
Three.js は JavaScript のライブラリです。このファイルを読み込むことではじめて Three.js を利用できるようになります。
CDN(コンテンツ・デリバリー・ネットワーク)で提供されている URL を使うのが導入にお手軽です。ECMAScript Modules の仕組みを使って import 文で、ここでは module 版 "three.module.js" を読み込みます。
<!doctype html>
<html>
  <head>
    <script async src="https://unpkg.com/es-module-shims@1.5.8/dist/es-module-shims.js"></script>
    <script type="importmap">
      {
        "imports": {
          "three": "https://unpkg.com/three@0.142.0/build/three.module.js"
        }
      }
    </script>
  </head>
</html>
3Dの処理は JavaScript で記述します。Three.js は ES Modules に対応しているため、import 文で読み込むことができます。import 文は <script> 要素の type 属性に module を指定することで利用できます。
<!doctype html>
<html>
  <head>
    <script "type=module">
      // Three.jsライブラリをインポート
      import * as THREE from "three";
    </script>
  </head>
</html>
3D表示用のJavaScriptを用意
3Dのレンダリングをするためのレンダラーを作成します。THREE.WebGLRenderer クラスのコンストラクターには引数として、HTML に配置した <canvas> 要素を指定し、連携させます。
デフォルトではレンダラーのサイズが小さいため、setSize() メソッドでサイズを設定します。今回のデモでは幅 960px、高さ 540px を設定しています。
<!doctype html>
<html>
  <head>
    <script type="module">
      // WebGLレンダラーを作成
      const renderer = new THREE.WebGLRenderer({
        // 使用するcanvas要素を指定
        canvas: document.querySelector("#myCanvas"),
      });
      // デバイスのピクセル比率を設定(高DPIディスプレイに対応)
      renderer.setPixelRatio(devicePixelRatio);
      // レンダラーのサイズを設定(幅960px、高さ540px)
      renderer.setSize(width, height);
    </script>
  </head>

  <body>
    <canvas id="myCanvas"></canvas>
  </body>

</html>
シーンを作る
シーンを作成します。シーンとは3D空間のことで、3Dオブジェクトや光源などの置き場となります。
<!doctype html>
<html>
  <head>
    <script type="module">
      // シーン(3D空間)を作成
      const scene = new THREE.Scene();
      scene.background = new THREE.Color(0x000000);
    </script>
  </head>
</html>
カメラを作る
3Dではどの視点から空間を撮影するか、という実装をします。この機能は「視点」や「カメラ」と呼ばれます。 Three.js では THREE.PerspectiveCamera クラスのコンストラクターで画角、アスペクト比、描画開始距離、描画終了距離の4つの情報を引数として渡しカメラを作成します。
<!doctype html>
<html>
  <head>
    <script type="module">
      // パースペクティブカメラを作成(視野角45度、アスペクト比 width/height)
      const camera = new THREE.PerspectiveCamera(45, width / height);
      camera.position.set(0, 0, +1000);
    </script>
  </head>
</html>
立方体を作る
立方体はメッシュという表示オブジェクトを使用して作成します。
メッシュを作るには、ジオメトリ(形状)とマテリアル(素材)の二種類を用意する必要があります。 ジオメトリとは頂点情報や面情報を持っています。Three.js にはさまざまなジオメトリが用意されています。今回は立方体や直方体のような箱状の形状を生成するための THREE.BoxGeometry() を使用します。
マテリアルは色や質感の情報を持っています。今回はとりあえず箱を表示させたいので、THREE.MeshNormalMaterial() という適当なカラーを割り振るマテリアルを生成します。
作成したジオメトリとマテリアルと THREE.Mesh() を使用してメッシュを作ります。作成したメッシュを scene.add() でシーンに追加します。
<!doctype html>
<html>
  <head>
    <script type="module">
      // ボックスジオメトリを作成(幅400、高さ400、奥行400)
      const geometry = new THREE.BoxGeometry(400, 400, 400);
      // 法線色マテリアルを設定(各面が異なる色で表示される)
      const material = new THREE.MeshNormalMaterial();
      // メッシュを作成してシーンに追加
      const box = new THREE.Mesh(geometry, material);
      scene.add(box);
    </script>
  </head>
</html>
アニメーション
モダンブラウザでは requestAnimationFrame 関数の登場によってアニメーションを実現できます。
requestAnimationFrame を使用するとブラウザによって定義された感覚で呼び出される関数を定義することができます。必要なものをその関数内で自由に描画できます。この関数は、ブラウザができる限りなめらかかつ効率的に描画することを保証します。
利用は簡単で、レンダリングを処理する関数を作成して、引数として渡すだけです。
アニメーションの処理として、立方体が回転するようにしてみます。時間経過で回転するように rotation.y プロパティの数値を加算しています。
<!doctype html>
<html>
  <head>
    <script type="module">
      // アニメーションループを開始
      renderScene();

      // 毎フレーム時に実行されるアニメーションループ関数
      function renderScene() {
        // ボックスをY軸中心に回転させる
        box.rotation.y += 0.01;
        // シーンをカメラの視点から描画
        renderer.render(scene, camera);
      }
    </script>
  </head>
</html>